About seven years later, I think it's high time for an update to one of the most useful (judging by views and search traffic) articles on this blog: A Usable And Good Looking Shell On Windows. Things have improved massively in Windows 10 with the introduction of WSL (Windows Subsystem for Linux), the Windows Terminal, and VSCode Remote integrations.
The Linux-based development environment on Windows
Yes, you read that right - running Linux (almost) natively on Windows is a thing nowadays! This makes it easier to set up an environment similar to that of folks lucky enough to use macOS or a Linux distribution as their daily driver. To kick it off, we're going to set up the following tools:
- Windows Terminal.
- WSL2 with an Ubuntu 20.04 distro.
- Docker Desktop for Windows.
- VSCode with Remote extensions.
At the time of writing, I'm running a fully updated Windows 10 Professional Version 2004 Build 19041 on my desktop machine. I'm using as vanilla an experience as possible (no corporate policy and spyware/bloatware), so if you follow this guide on a work computer without admin rights, you might not be able to do everything without the help of your IT admins.
A usable and good looking shell on Windows
My old article was trying to find solutions for the lack of a usable (tabs, split panes, shortcuts) and good looking (fonts, colors) terminal on Windows, because there was nothing out of the box that fit the bill. The command prompt and powershell just don't cut it as they seem to still be stuck in the 90s even on Win10.
So they finally took a page out of the macOS/Linux book (where you are spoilt for choice and even the vanilla terminals are good enough) and created Windows Terminal. It even has an eye-candy filled trailer. But, more importantly, it has the following features:
- Multiple tabs.
- Full Unicode support.
- GPU-accelerated text rendering.
- Full customizability.
- Split panes.
To that I'll add that it can run, within the same window, multiple types of shells: cmd, powershell, WSL distros, azure cloudshell etc.
You can install it from the Microsoft Store, but if you don't have access to that, you can also download it from a build published on its GitHub Releases Page or via command line package managers (winget/chocolatey/scoop etc.).
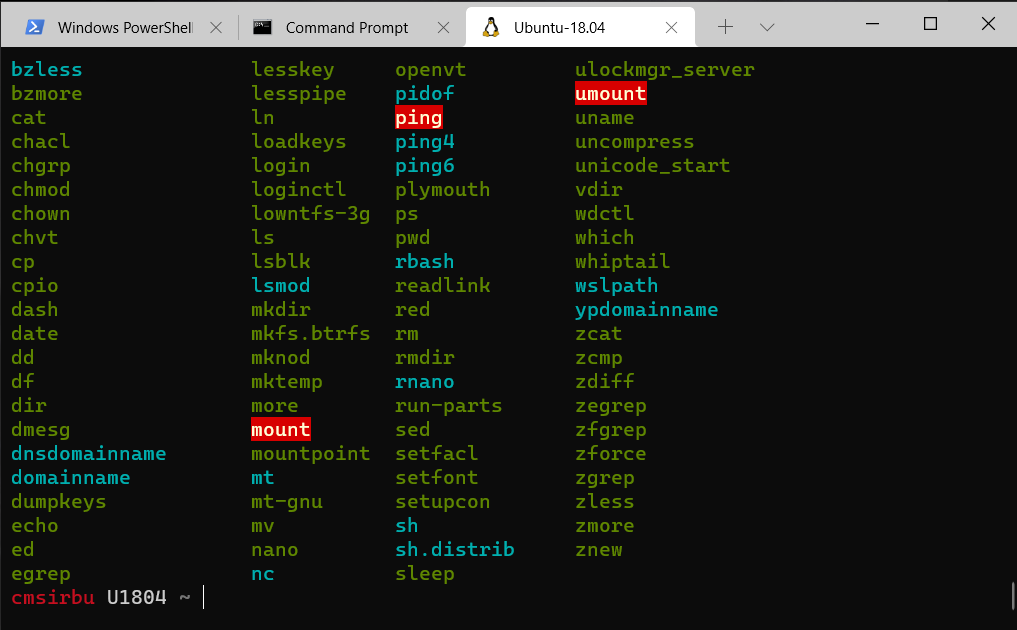
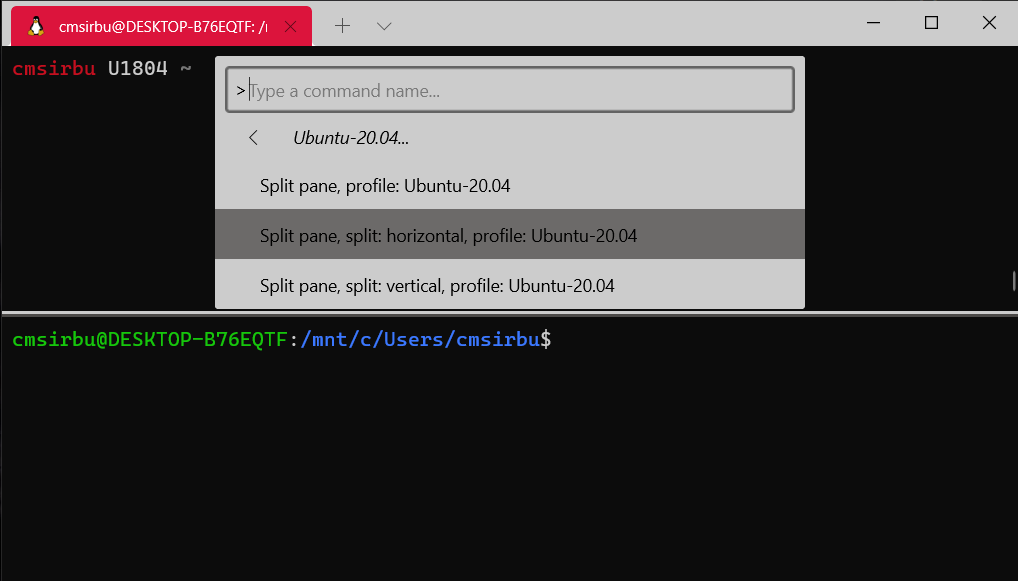
Here's how it looks like with my customized Ubuntu WSL distro and a few other tabs:
After installing it, have a look at the Settings and customize its appearance to your liking. Then read the manual to learn some of its other features, such as the command palette for quick, mouse-free, keyboard only, access to many Terminal actions.
Running Linux without the overhead of a VM with WSL
To quote the official WSL documentation:
The Windows Subsystem for Linux lets developers run a GNU/Linux environment -- including most command-line tools, utilities, and applications -- directly on Windows, unmodified, without the overhead of a traditional virtual machine or dual-boot setup.
First introduced in Windows 10 version 1709, WSL1 made running a Linux distro on Windows a lot more native-feeling than with a VM. Its performance was still not that great and the lack of a Linux kernel to go with the userland tools made the experience a bit more limited than with a full VM. It was still very useful and it improved over the years (we're talking 2017 here!) until WSL2 was released. With a Linux kernel running natively on Windows. I never thought that was something I'd ever say or write, but here we are.
Among many other benefits, WSL2 brought full system call compatibility, better performance and networking, the Linux kernel, all of which also allow for more native execution of Docker containers for example.
Originally only available in Windows 10 version 2004 or later, WSL2 has been backported to version 1903 Build 18362.1049+ and version 1909 for those of you involuntarily stuck in the past.
To install WSL, follow the official instructions.
Important note: you have to perform some operations from an Administrator Powershell! Windows Terminal seems to have a problem with privilege escalation, so start a regular Admin Powershell window.
Once WSL and HyperV are enabled, you'll likely have to reboot.
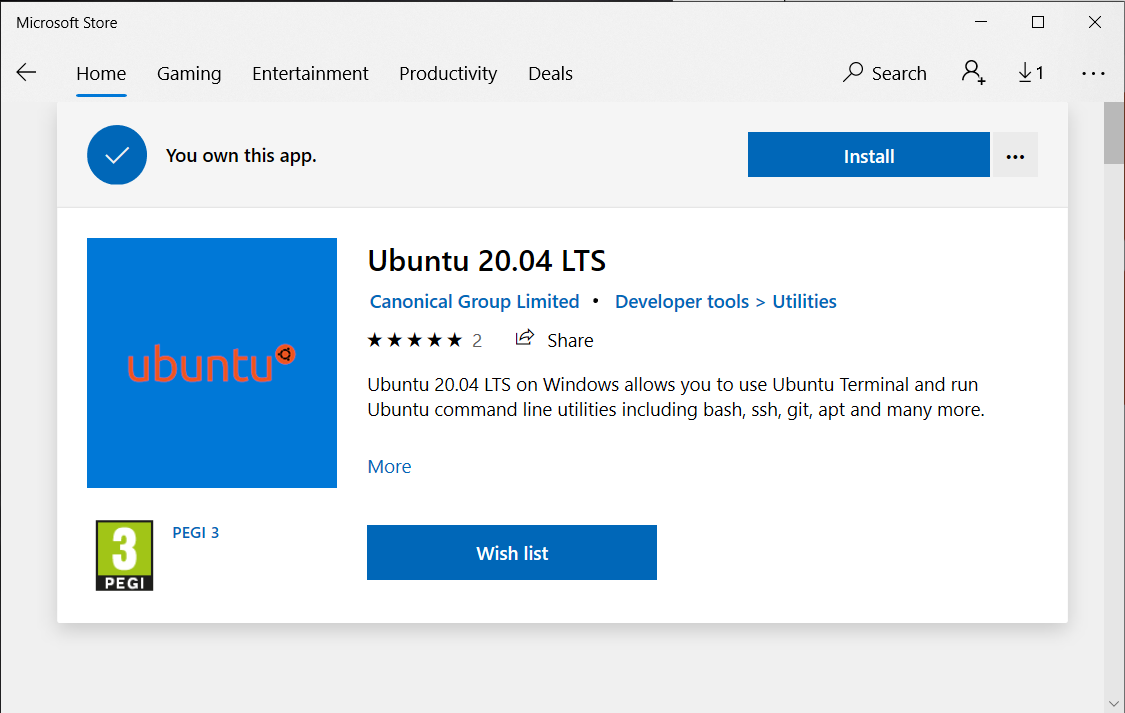
Next, open the Microsoft Store and select your favorite Linux distribution - I'd recommend starting with the latest LTS version of Ubuntu (20.04 at the time of writing). If you cannot use the Store app for whatever reason, then you can manually download and install WSL distributions as per this article.
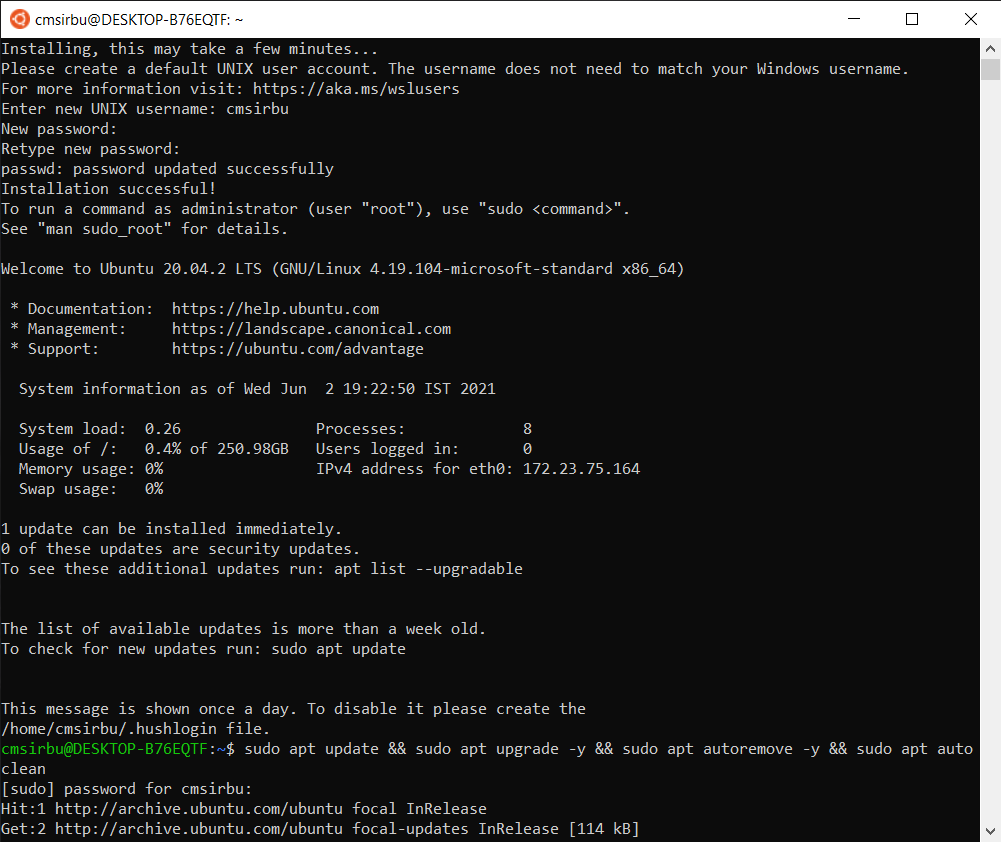
Boot it up. Let it install itself, then set up your username and password for this WSL distribution. You'll probably need to update the packages, for Ubuntu/Debian run sudo apt update && sudo apt upgrade -y && sudo apt autoremove -y && sudo apt autoclean and let it finish.
At this stage you might want to customize your distro's environment (e.g. change the hostname, the bash prompt, colors, paths, add other packages etc.). Keep an eye on the ANTS: Awesome Networking Tools Sandbox project as I'm working on making it bootstrap a WSL ANTS environment!
For fast filesystem performance, use the "internal" file system for work inside of a WSL distro. You can:
- Access your
C:drive from within WSL via/mnt/c/ - Access your WSL drive from Windows via
\\wsl$\Ubuntu-20.04\home\username\- Bookmark this in your Explorer favorites.
- From a WSL terminal you can also run
explorer.exe .- mind the.at the end there!
Checking the WSL version
If you are able to use WSL2, then you should, no discussion really. If you installed a distro before setting WSL2 as the default, then it might be using WSL1. Here's how to check from an Administrator Powershell.
PS C:\Users\cmsirbu> wsl -l -v
  NAME                   STATE           VERSION
* Ubuntu-18.04           Running         2
  Ubuntu-20.04           Running         1
To set WSL2 as the default use the following command: wsl --set-default-version 2.
If it happened that you already started a WSL1 distro and you want to convert it to WSL2, you can do it with: wsl --set-version Ubuntu-20.04 2.
Using WSL from the Windows Terminal
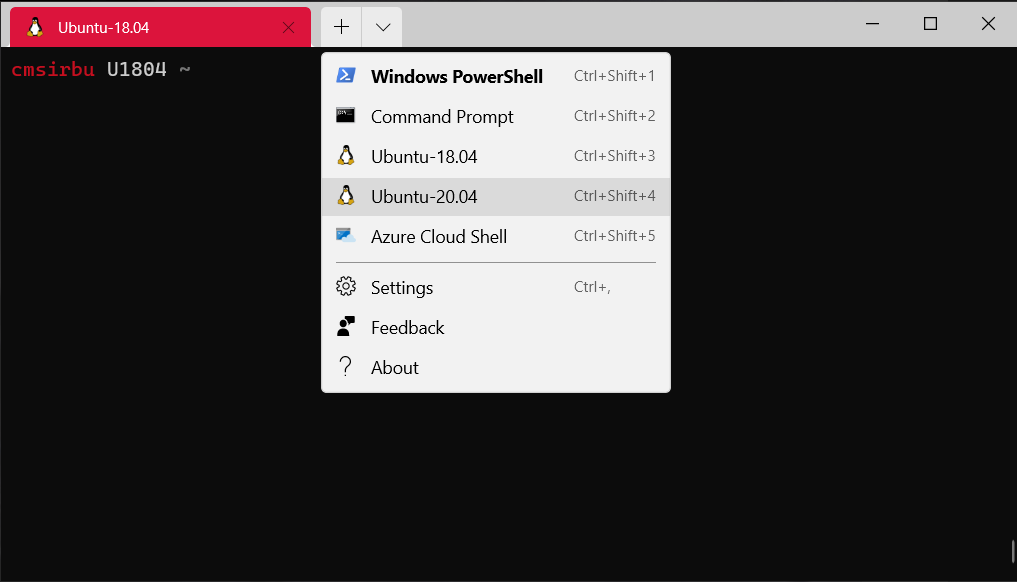
If you start your Windows Terminal, you should now find that any WSL distros you install can also be opened as shell sessions (use the command palette or the dropdown on the top bar to open a new session).
Docker Desktop and WSL2
You have been able to install Docker Desktop on Windows for a while now, but with WSL2's Linux kernel in the mix, it gets even better. Docker containers are Linux based containers - running them on anything that doesn't have a Linux kernel usually involves a Virtual Machine running, you guessed it, Linux.
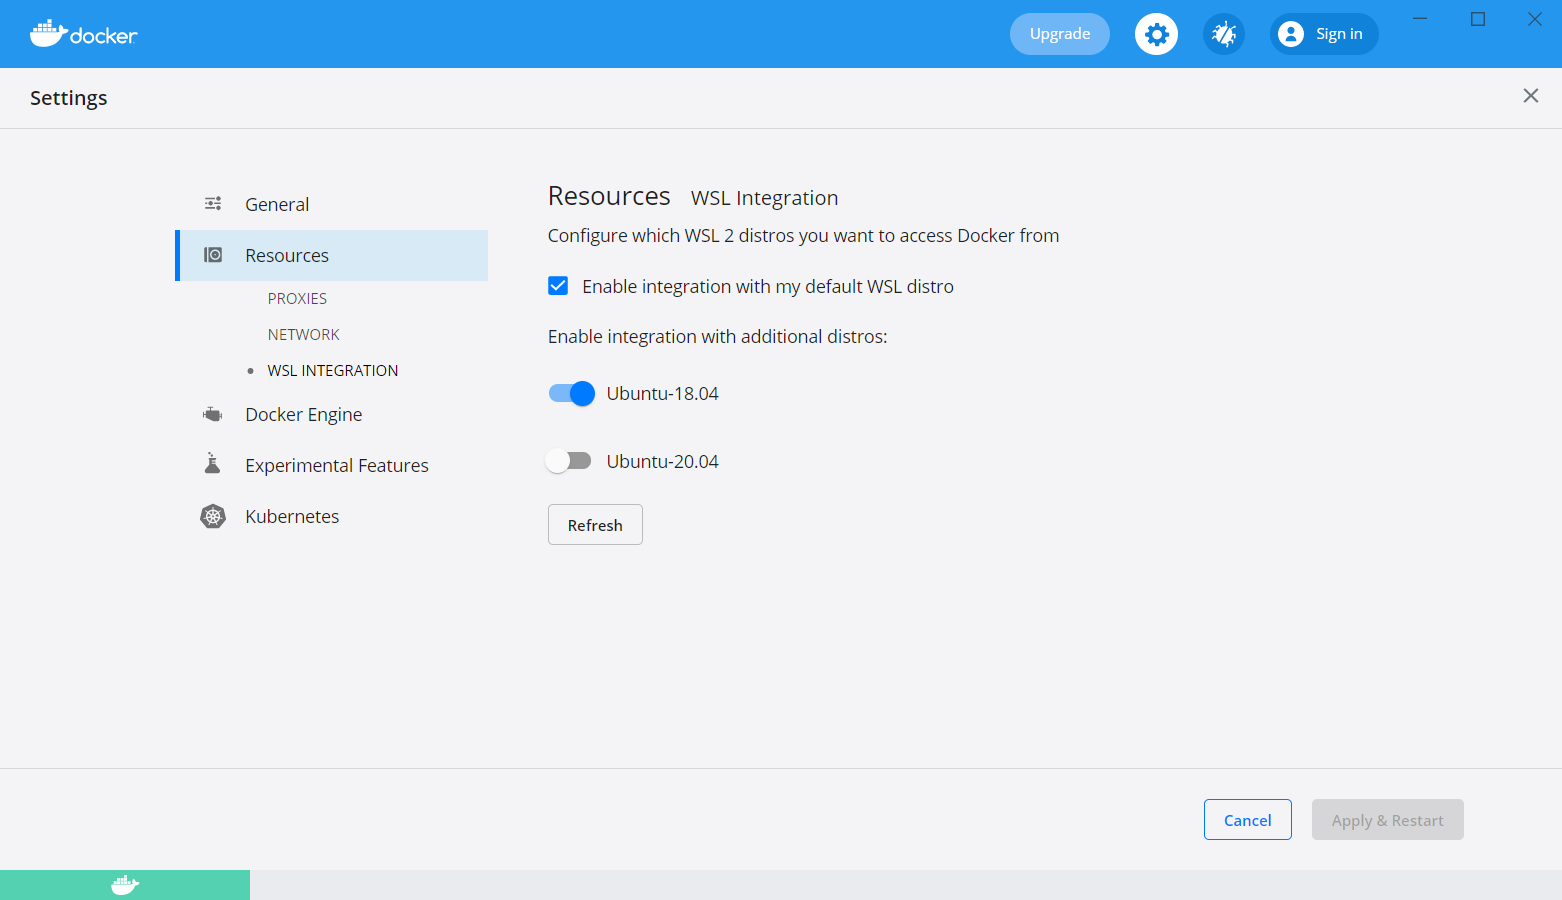
If you have WSL2 on your machine, you can set up Docker Desktop to use it.

And enable it for each WSL distro you want to use it in. As you can see in the screenshot below, I have it enabled only for Ubuntu-18.04 which is my default distro right now.
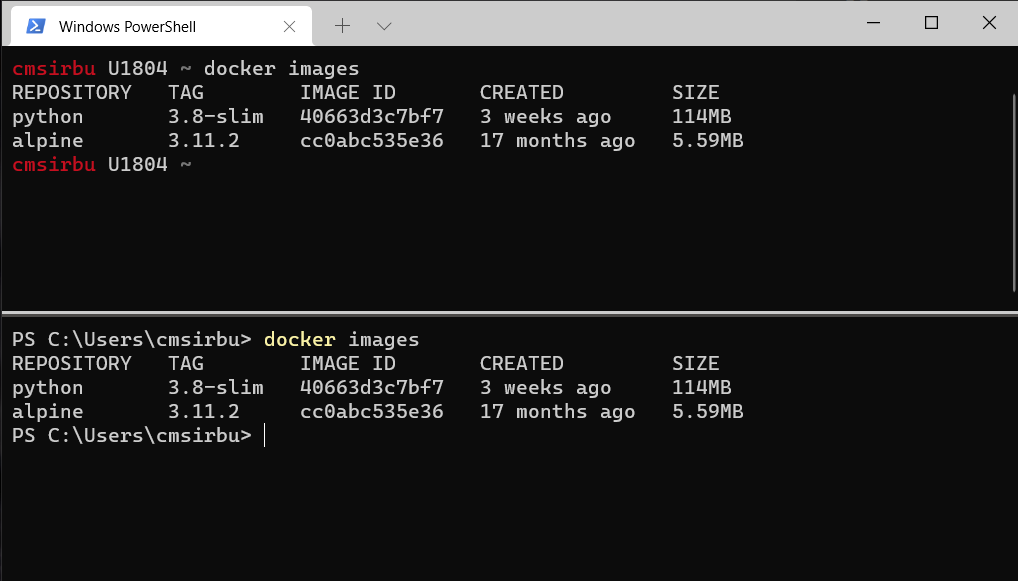
With all of that installed, now you can use the docker command from Powershell or from within your WSL distro to manage containers.
Tie it all together with the ultimate Code Editor
VSCode has quickly taken over as one of the best multi-platform, multi-language, general purpose development environment and powertool - it's developed as an opensource project by Microsoft and it has a few amazing extensions, which are the focus of this article: Remote WSL, SSH, and Container.
When you first start VSCode after enabling WSL, it will helpfully suggest the Remote extension with a similar looking prompt.
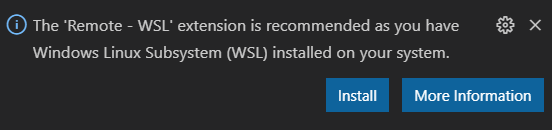
Even if you don't get the prompt, go to the Extensions tab in VSCode and install the Remote Development pack which contains the three extensions I mentioned above (SSH, WSL, and Containers).
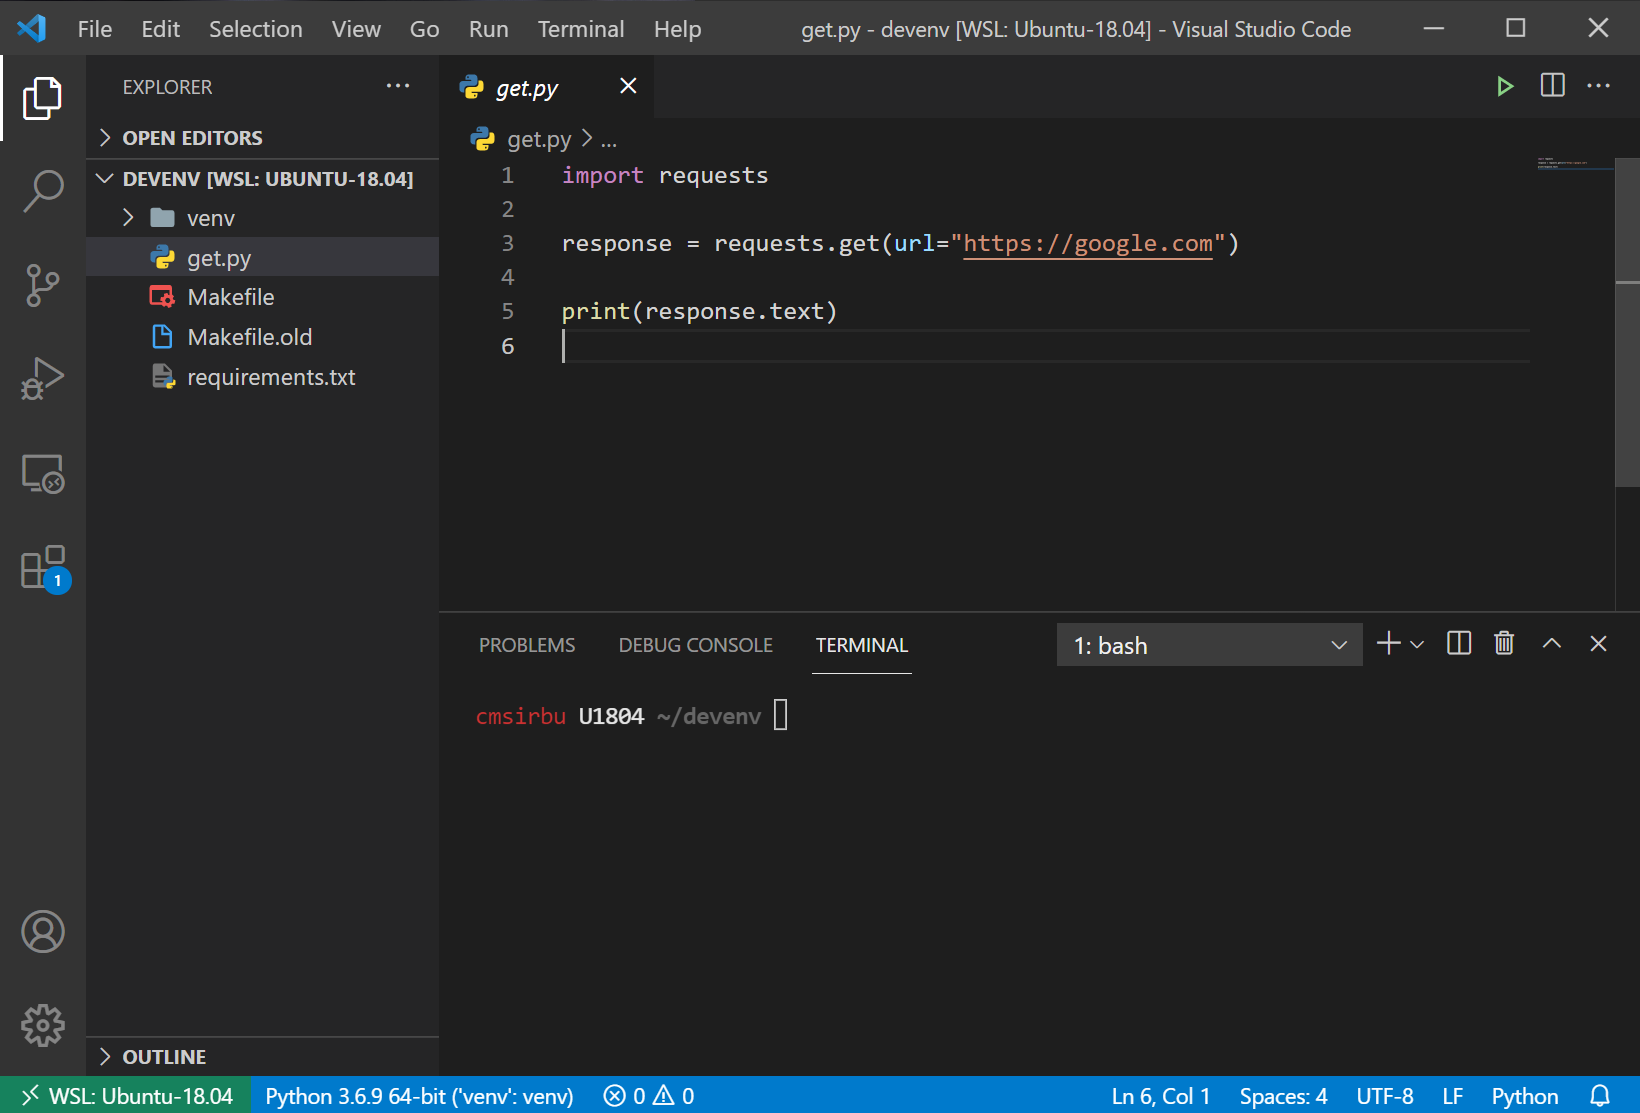
You can start a VSCode window that's fully integrated with the WSL distro of your choice by using one of the following options:
- From the WSL terminal execute the
codecommand. - Click "Open a Remote Window" button on the status bar (
><at bottom left). - Use the command palette in VSCode to open a new remote session.
A fully integrated VSCode window means that it edits files within the WSL filesystem, opens WSL terminals, and executes programs inside of WSL. You won't ever want to go back once you get used to it!
Final thoughts
And there you have it, a fantastic start towards building a development environment on Windows with modern tools. It's getting better and better as an experience (it was about time Microsoft!) and we've barely scratched the surface of what you can do with each individual tool in this article.
And, as always, thanks for reading.